coolthaihouse.com -> info -> perimeter wall
August, 2004 Editor. Pattaya,
Thailand home construction, home building. Various types
of perimeter wall construction. Examples of a wire fence
constructed with preformed posts laid in cement. An
example of a heavy duty concrete block perimeter wall being
built. What are important things to check for when your
wall is being built? Wall options and decorative aspects
of having the wall built.
There
are in general two main categories of perimeter walls: the 'heavy duty'
concrete block constructed perimeter wall and the less heavy duty wire
fence.
Wire Fence
You might consider this option if you're
trying to fence of a large area and just need something quick and cheap.
Normally these are made of prefabricated posts that cost about 100 Baht
each, some cement and wire, the total cost being much less than a cement
block wall. The wire used can be barbed or straight. This
won't work if you are going to add fill dirt up to the border of your
land, since the wall will not function as a retaining wall.

This
shows the base of the wire perimeter wall. Post holes are dug at
about 2.5 meter intervals. The post is inserted and then a
temporary support is used to hold the post in place prior to the cement
pour. (23-Jun-04)

Here
wire is used use to as a fencing material. Later a mesh
will be added to this fence to keep chickens in.

Notice
the addition of chicken wire to the lower portion of the fence.
(24-Jun-04)

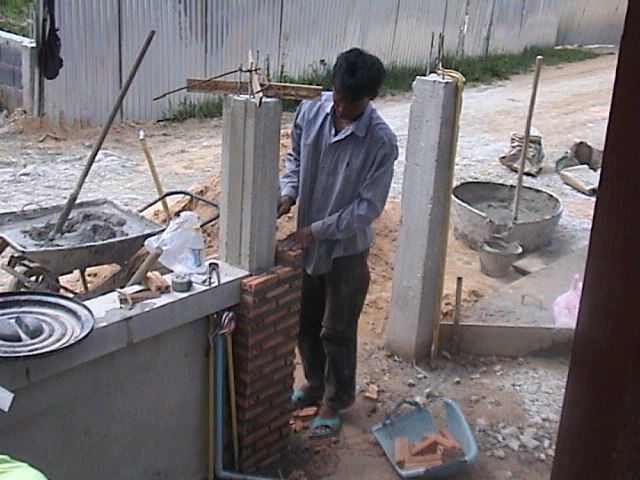
This
application was finished off with two main
entry posts and an entry gate. A layer
of bricks was used on top of these
prefabricated entry posts for an artistic
look. (06-Jul-04).
Cement Block Wall
Walls that are built from concrete blocks
are great. They are durable and help hold in the fill dirt.
Some things to be on the lookout for are: 1.) Poured fence
posts and much stronger than prefabricated ones. 2.) The
fence post should be poured around the rebar structure after the cement
blocks are laid in-between. This binds the structure together and
is much stronger than if the posts are poured first. 3.) The
ideal distance between posts is about 2.5 meters (the inside measurement
from post to post). 4.) The main ingredient which makes the
cement blocks themselves strong is the application of the cement stucco. The stucco application
should be at least about 5 millimeters thick.
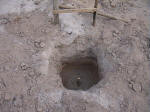
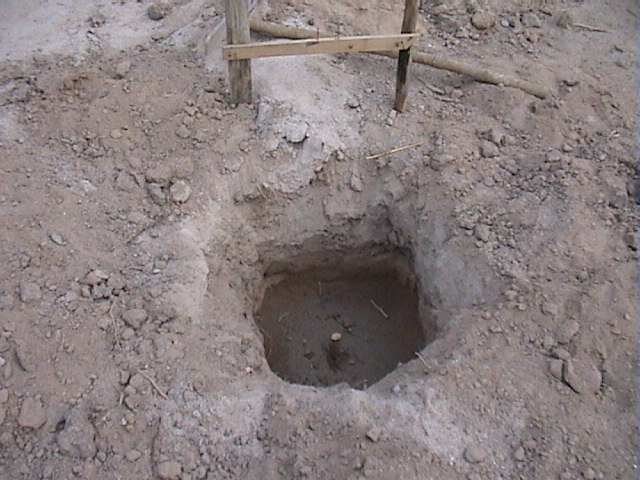
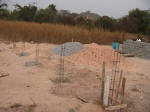
Post
holes like this should be dug each 2.5 meters. The stick at the bottom
signifies the center of the fence post to be poured. The hole is 60 cm
square, 60 cm deep. (11-Jan-04)
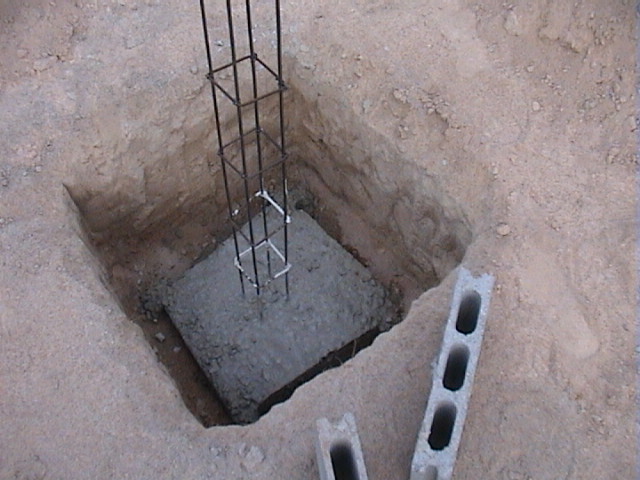
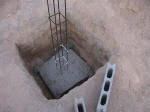
Supporting
rebar structures, which are made by tying metal strands together,
are placed in the completed post hole. There is a metal base on
the bottom of the structure. The metal used on the upright
pieces is guage 3 hun full, the square supports are 2 hun full.
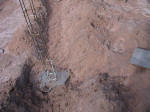
The
base is cemented in place with a cement pour around 30 cm thick.
Cement
is poured using a large metal can as a form,
about 30 cm square. (13-Jan-04)
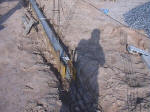
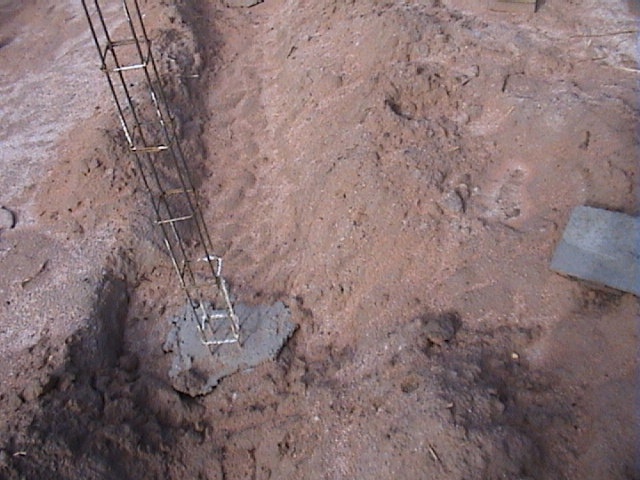
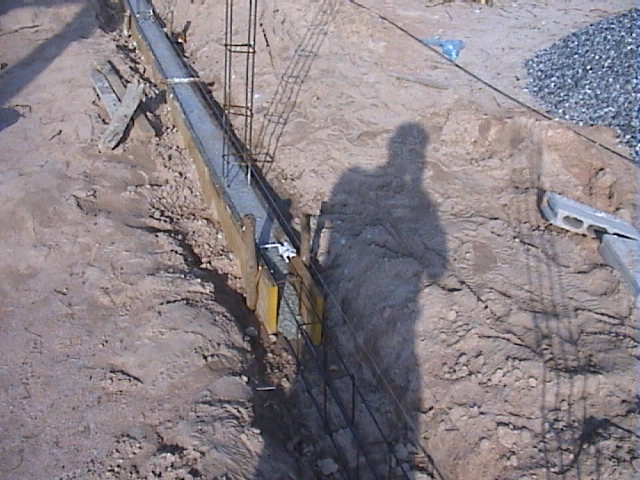
A
strip footing is created about 10 inches high by about
10 cm. wide. Straight form wood is used to form
the concrete. The concrete is poured around a
metal rebar structure, of 3 hun full (vertical)
with 2 hun full (cross supports). (16-Jan-04)
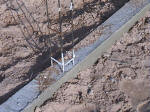
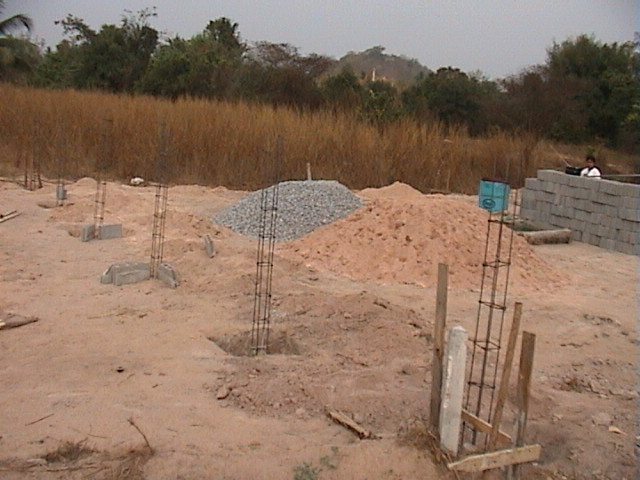
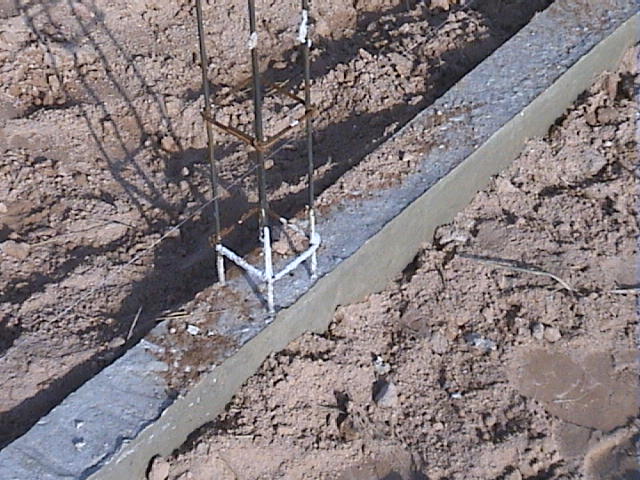
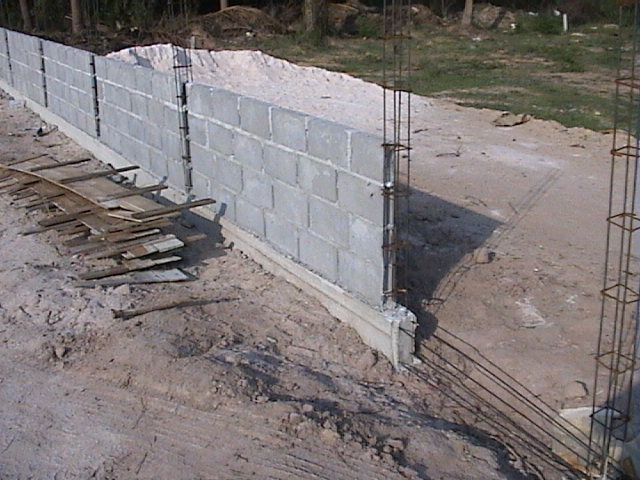
The
strip footing will have the rebar supports at 2.5
meter intervals.
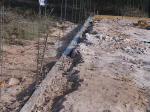
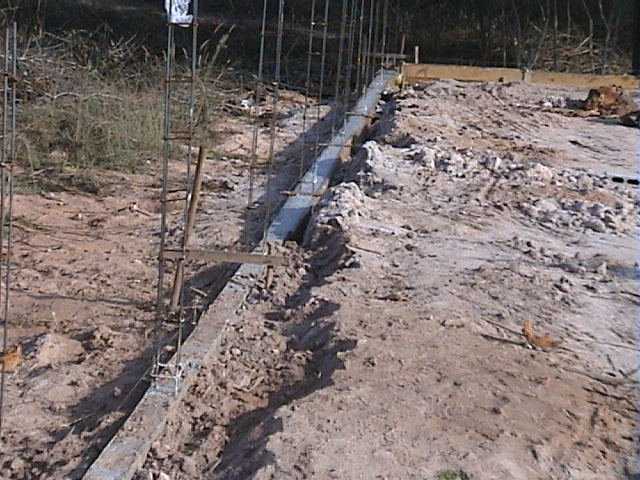
Another
shot showing the strip footing with the rebar supports
at 2.5 meter intervals.
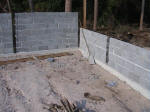
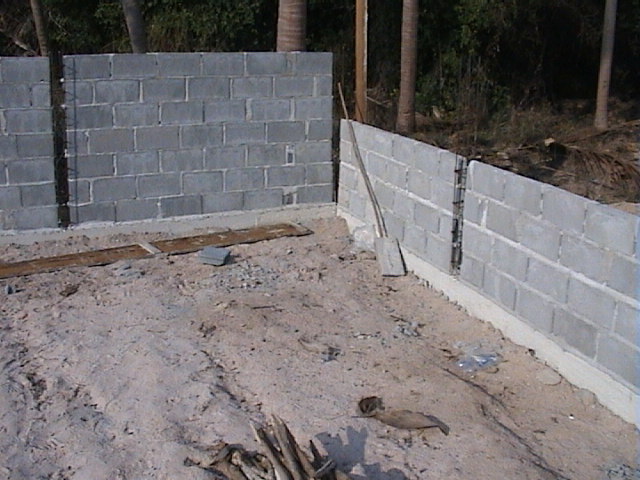
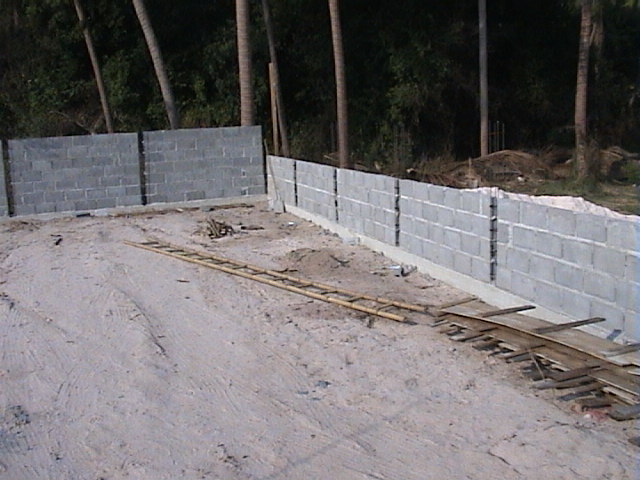
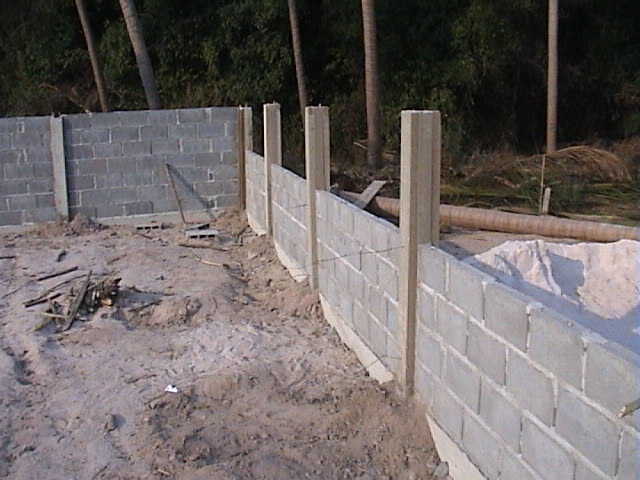
To
add strength the blocks are cemented in place
prior to pouring the supporting posts. The posts
will be poured 'around' the blocks. Standard
sizes for facing walls is 4 blocks high, the
back sides are 7 blocks high. (24-Jan-04)
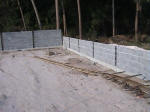
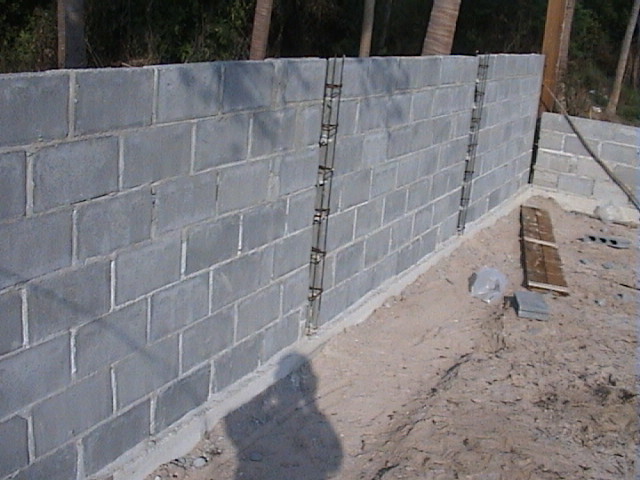
Another
shot of the blocks. Note, there is a piece of rebar
placed horizontally in the post then laid on
top of the adjacent row of blocks. This metal
piece is used to add strength. It is guage 2 hun
full and is about 40 cm long.
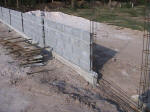
This
is the entry way reserved for the walk in gate.
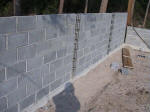
Another
view of the back wall.
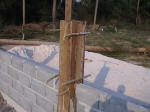
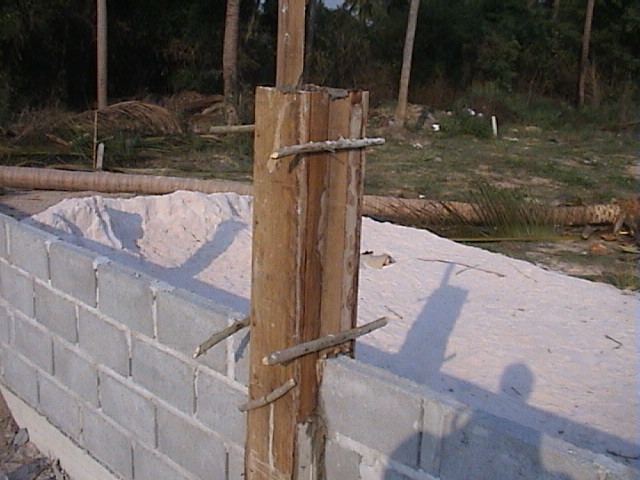
The
support post is poured around the adjacent
blocks using a form structure.
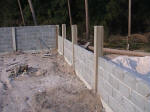
A
wall section (front and side) with completed
support post structures.
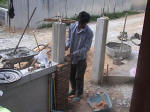
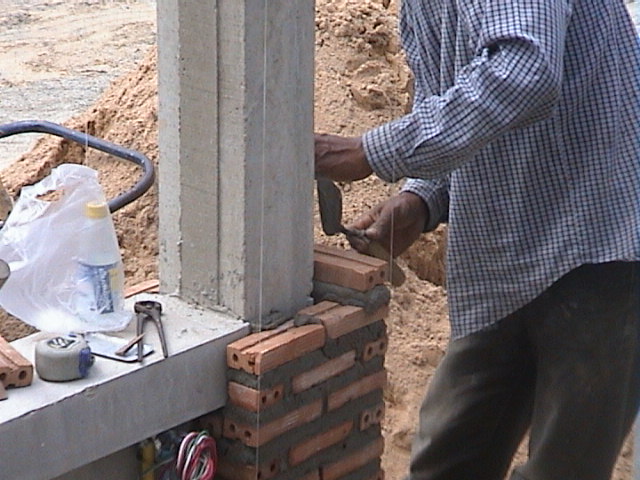
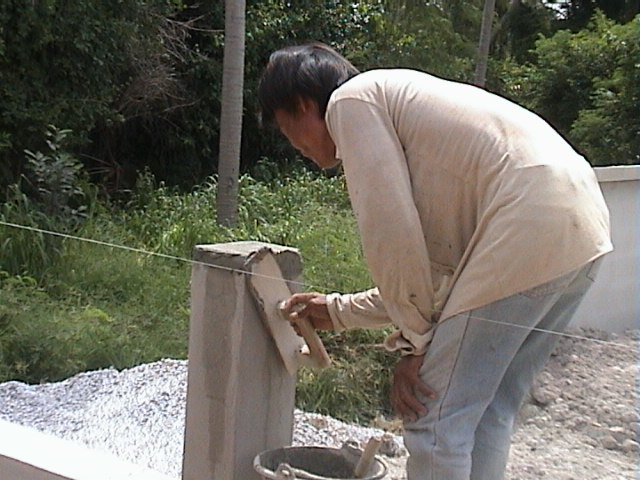
To
apply decorative tiles around a perimeter wall foundation post, the
brick layer creates a rig which sits on top of the post and has
'straight-line' nylon line running down the side. (28-Jun-04)
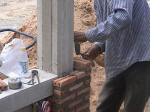
Laying
a brick in place.
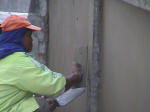
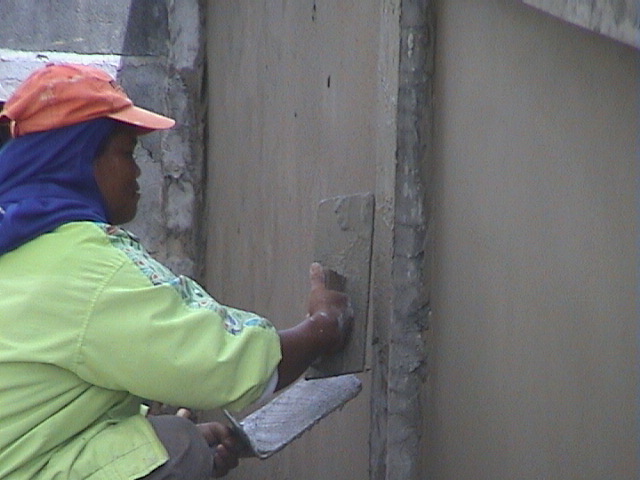
Stucco
being applied to the perimeter wall.
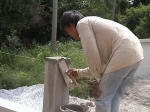
Finishing
touches applied to the top of the perimeter wall
foundation post.
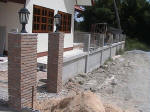
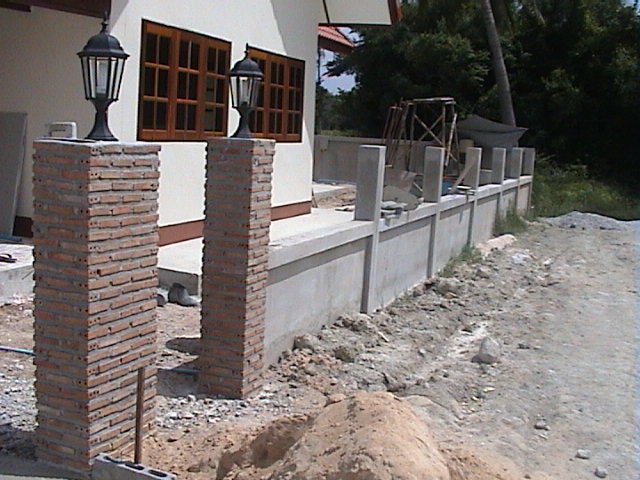
Finished
wall section with some decorative brickwork on
the entry posts. (06-Jul-04)
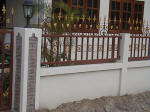
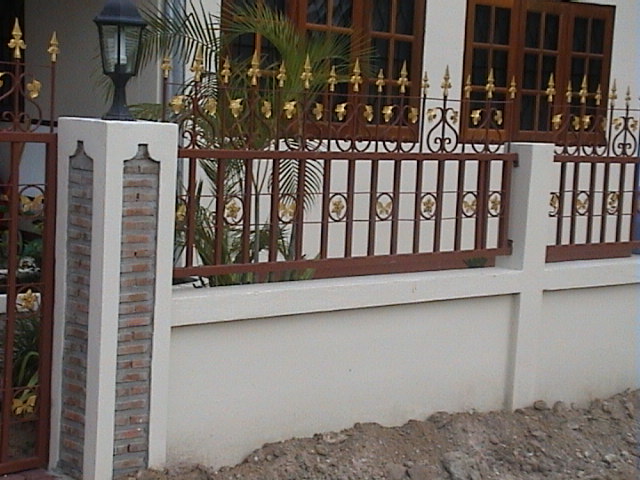
Painted
and finished wall section with decorative security metal.
(15-Aug-04)
Various Options

This
shot shows a nice application of a diagonal section which can be used to
make entry easier. The diagonal section can be added at each side
of the entry gate. (01-Jan-04)

This
is another material which can be used in
combination with the entry posts. Here
the posts are surrounded
with a large decorative brick. (06-26-04)
Wall Examination

A
good enough looking wall section but can you notice two things?
The posts are far apart (3.5 meters) and the fact that you can see the
imprint of the underlying blocks indicates that the stucco layer applied
was very thin. (06-Jul-04)

You
can see from a close examination of this wall section that the
post was not correctly poured around the blocks. (14-Jul-04)

A
close up showing that the post was poured before the
blocks were laid in, not after.

Another
thing worth noting. If cheap paint is used
on wall sections it will not last long.
This section was just painted a few weeks
before. (25-Jul-04)

One
thing missing here! There is supposed to be a
piece of metal extending out of the rows of blocks into
the post area to add strength. Many people don't
do this - you need to request it. (12-Jun-04)
Feedback plea This site is free, but needs your comments and corrections to make it a valuable resource. If you've got comments, corrections or other information please leave feedback here.

home |
info home |
architecture |
basicmaterials |
bathroom |
ceiling |
concretepour |
electric |
eves |
foundationcolumn |
gate |
generalinfo |
goodideas |
gutter |
kitchen |
perimeterwall |
planterbox |
roof |
tile |
wall |
water |
windowdoor
This page was last updated
October 2nd, 2009