|
|
|
|
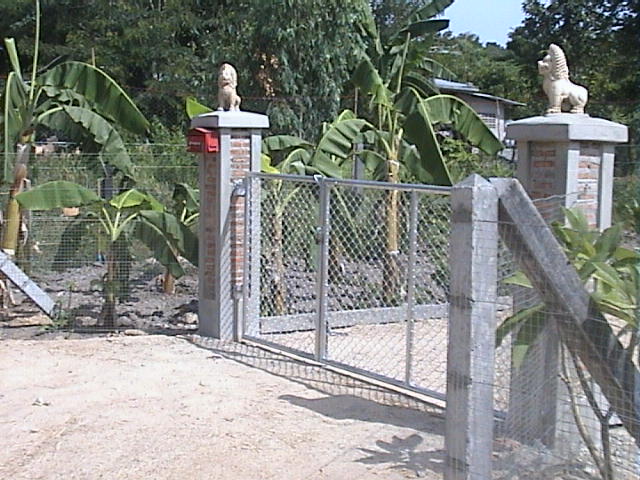
There are in general two main categories of perimeter walls: the 'heavy duty' concrete block constructed perimeter wall and the less heavy duty wire fence. Wire Fence You might consider this option if you're trying to fence of a large area and just need something quick and cheap. Normally these are made of prefabricated posts that cost about 100 Baht each, some cement and wire, the total cost being much less than a cement block wall. The wire used can be barbed or straight. This won't work if you are going to add fill dirt up to the border of your land, since the wall will not function as a retaining wall.
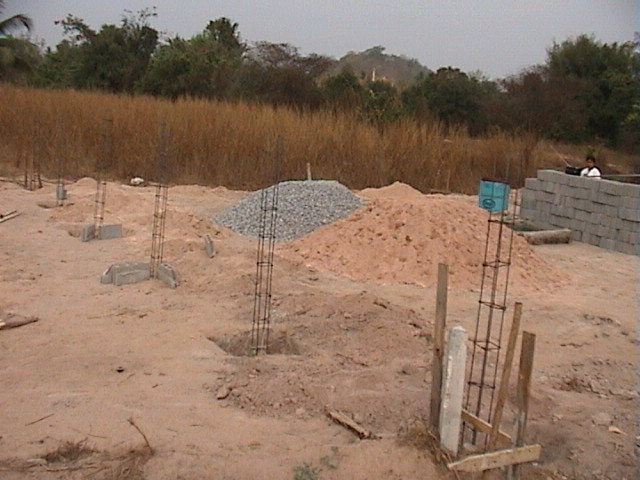
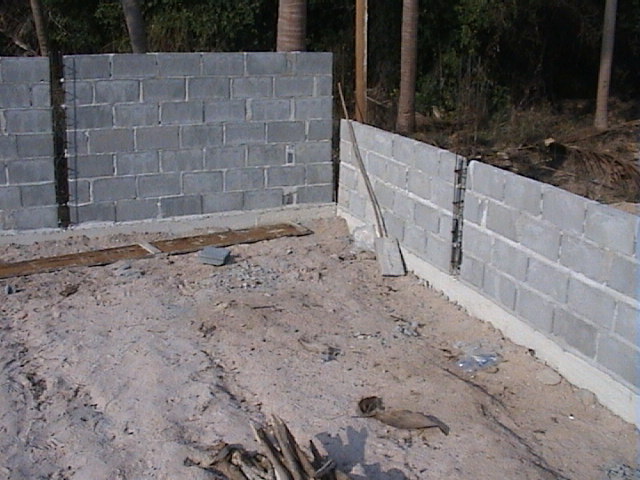
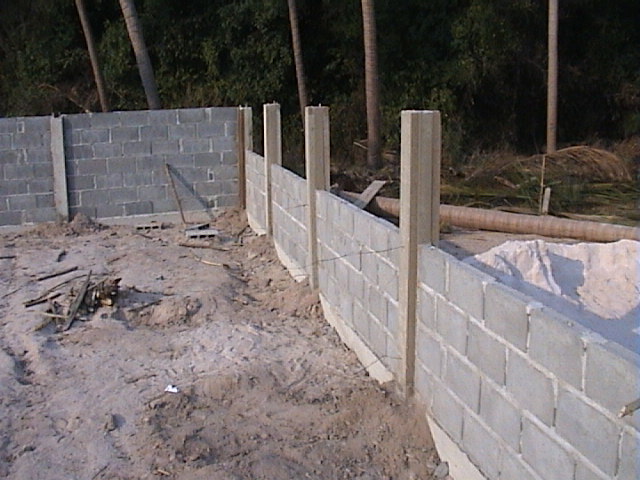
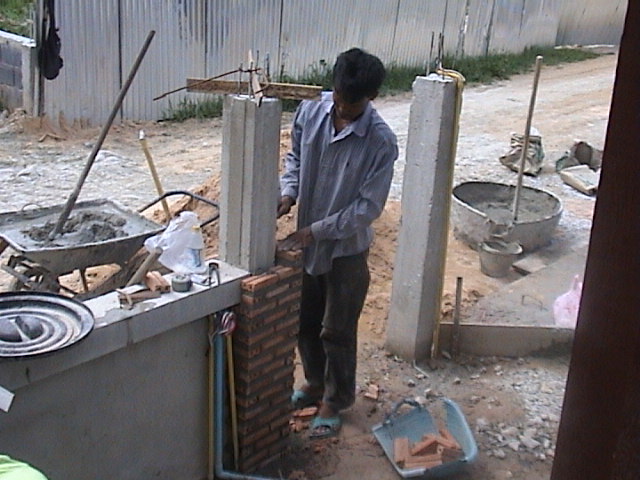
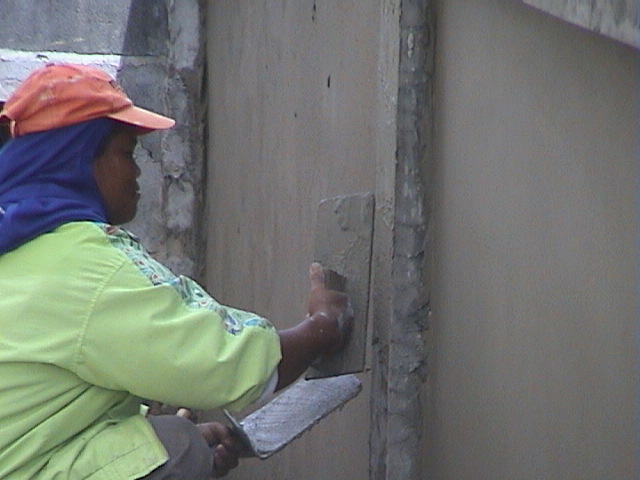
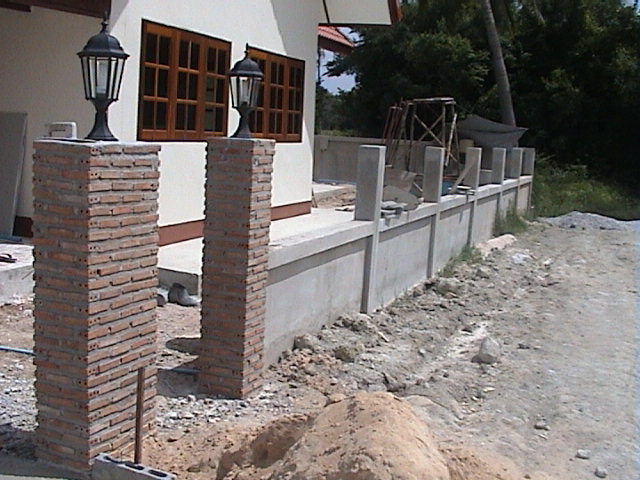
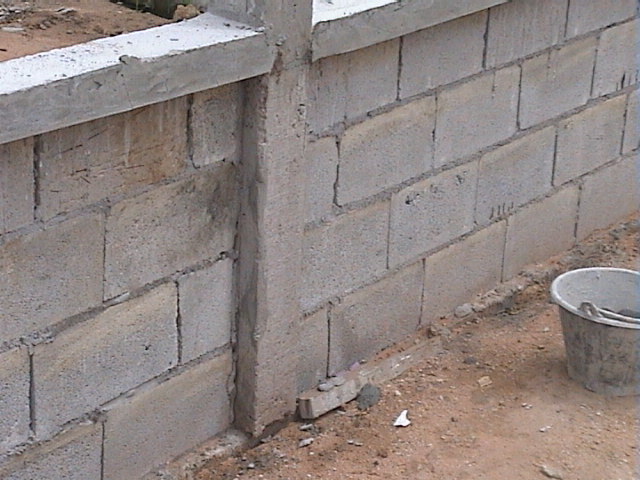
Cement Block Wall Walls that are built from concrete blocks are great. They are durable and help hold in the fill dirt. Some things to be on the lookout for are: 1.) Poured fence posts and much stronger than prefabricated ones. 2.) The fence post should be poured around the rebar structure after the cement blocks are laid in-between. This binds the structure together and is much stronger than if the posts are poured first. 3.) The ideal distance between posts is about 2.5 meters (the inside measurement from post to post). 4.) The main ingredient which makes the cement blocks themselves strong is the application of the cement stucco. The stucco application should be at least about 5 millimeters thick.
Various Options
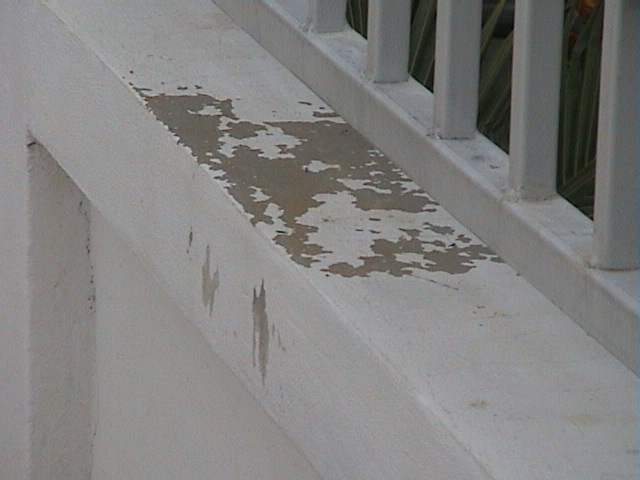
Wall Examination
|
home |
info home |
architecture |
basicmaterials |
bathroom |
ceiling |
concretepour |
electric |
eves |
foundationcolumn |
gate |
generalinfo |
goodideas |
gutter |
kitchen |
perimeterwall |
planterbox |
roof |
tile |
wall |
water |
windowdoor
This page was last updated October 2nd, 2009