|
 The
roof structure is built using heavy gauge steel. The bigger pieces are 4
* 2 inches 3.2 mm thick. The smaller pieces are 1 by 1inch 1.6 mm thick.
There are two designations, full and light, this is the full heavier
gauge variety. (13-Mar-04) The
roof structure is built using heavy gauge steel. The bigger pieces are 4
* 2 inches 3.2 mm thick. The smaller pieces are 1 by 1inch 1.6 mm thick.
There are two designations, full and light, this is the full heavier
gauge variety. (13-Mar-04)
|
|
|
 The
roof tile will lie on the 1 by 1, so they must be placed at
proper intervals. Notice the cross beam supports which sits on
top of the foundation posts. The
roof tile will lie on the 1 by 1, so they must be placed at
proper intervals. Notice the cross beam supports which sits on
top of the foundation posts. |
|
|
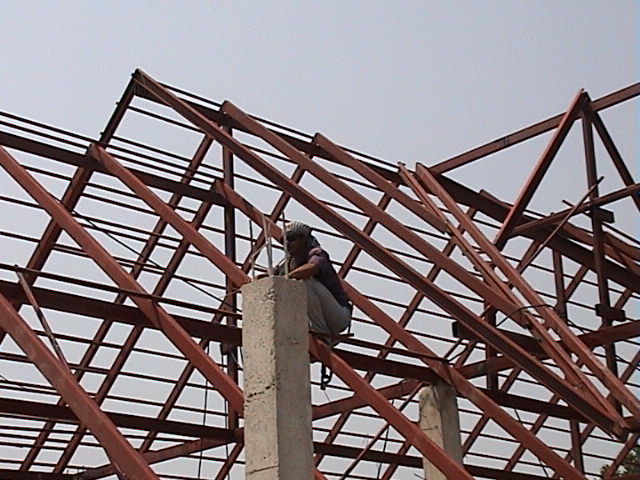
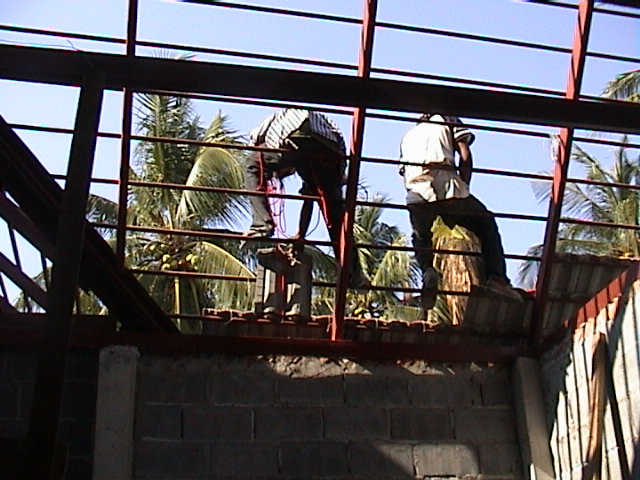
 This
shows most of the foundation columns as well as the partially finished
roof truss. The roof height is 2.75 meters about the foundation pillars,
the foundation pillars are 3.50 meters to the overall height is 6.25
meters. Being up on the roof truss is like mountain climbing. This
shows most of the foundation columns as well as the partially finished
roof truss. The roof height is 2.75 meters about the foundation pillars,
the foundation pillars are 3.50 meters to the overall height is 6.25
meters. Being up on the roof truss is like mountain climbing. |
|
|
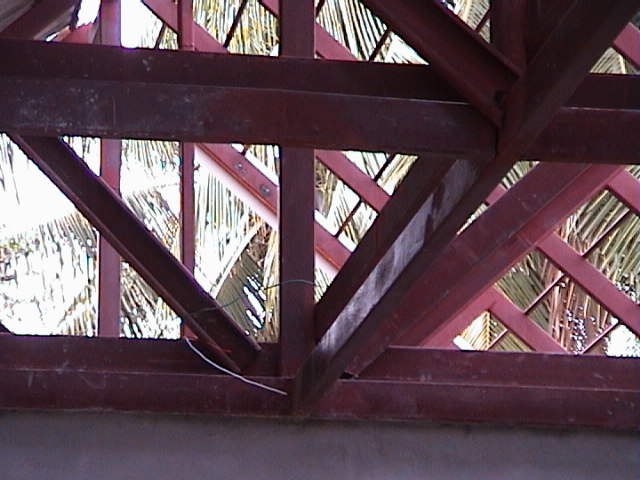
 Partially
finished roof truss, rear side of house. Partially
finished roof truss, rear side of house. |
|
|
 This
shot also shows the facia board (brand facolia, a
synthetic material) along with an aluminum preformed
strip for rain water. This drainage strip is
inadequate in size and leads to problems later. It
has a width of about 20 centimeters. (22-Mar-04) This
shot also shows the facia board (brand facolia, a
synthetic material) along with an aluminum preformed
strip for rain water. This drainage strip is
inadequate in size and leads to problems later. It
has a width of about 20 centimeters. (22-Mar-04) |
|
|
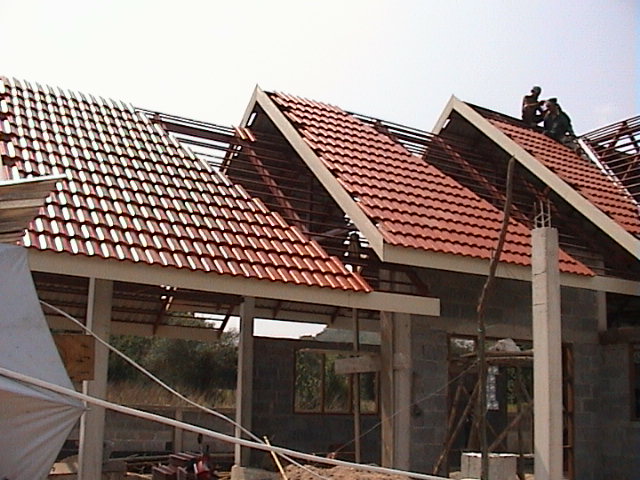
 More
roof sections. This shot shows the covered parking area,
and entryway areas. (22-Mar-04) More
roof sections. This shot shows the covered parking area,
and entryway areas. (22-Mar-04) |
|
|
  For
comparisons sake, a pair of
photos of another house, which shows a wide strip
of aluminum flashing (about 1 meter wide) being
used which
is a better way to do the roof flashing.
(15-May-04/09-May-04) For
comparisons sake, a pair of
photos of another house, which shows a wide strip
of aluminum flashing (about 1 meter wide) being
used which
is a better way to do the roof flashing.
(15-May-04/09-May-04) |
|
|
 This
area shows the entryway (on the left) as well as
the front bedroom. (22-Mar-04) This
area shows the entryway (on the left) as well as
the front bedroom. (22-Mar-04) |
 The
nearly complete roof truss. Still to be added are 12 heavy guage
2 * 4 lengths of metal to reinforce the support capacity of the
truss. The roof needs to support 8 metric tons of roof tiles.
Also seen, two of the three areas of glass blocks used in the
house. The
nearly complete roof truss. Still to be added are 12 heavy guage
2 * 4 lengths of metal to reinforce the support capacity of the
truss. The roof needs to support 8 metric tons of roof tiles.
Also seen, two of the three areas of glass blocks used in the
house.
|
 The
roof tile is wired on to hold it in place.
Notice the tile sits in place on the 1 * 1 metal
cross beam. The
roof tile is wired on to hold it in place.
Notice the tile sits in place on the 1 * 1 metal
cross beam. |
|
|
 A
piece of wood is extended from the roof metal to allow
the facia board to be attached. A
piece of wood is extended from the roof metal to allow
the facia board to be attached. |
|
|
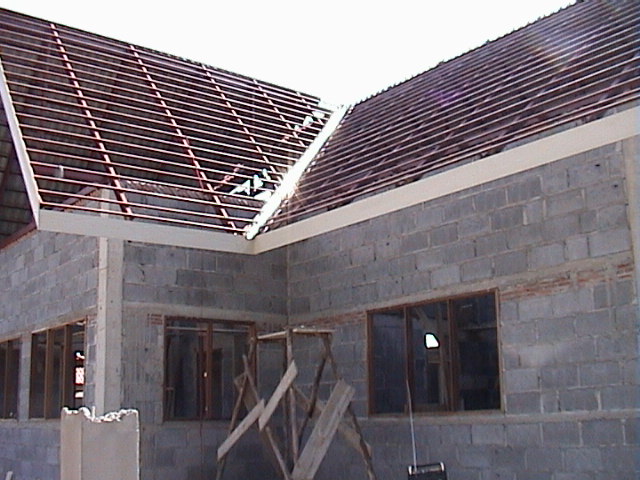
 Partially
finished roofing on the front entry side of the
house. (28-Mar-04) Partially
finished roofing on the front entry side of the
house. (28-Mar-04) |
|
|
 Roof
truss with attached facia board and drainage aluminum
at the valley. Roof
truss with attached facia board and drainage aluminum
at the valley. |
|
|
 Side
of house. Side
of house. |
|
|
 Nearly
finished roof section in rear of house. Nearly
finished roof section in rear of house. |
|
|
 A
wall section of the rear bedroom along. There
has been additional metal placed in the roof
truss which is now complete. Notice the two
heavy gauge 4 * 2 metal beams shown in this
shot. (28-Mar-04) A
wall section of the rear bedroom along. There
has been additional metal placed in the roof
truss which is now complete. Notice the two
heavy gauge 4 * 2 metal beams shown in this
shot. (28-Mar-04) |
|
|
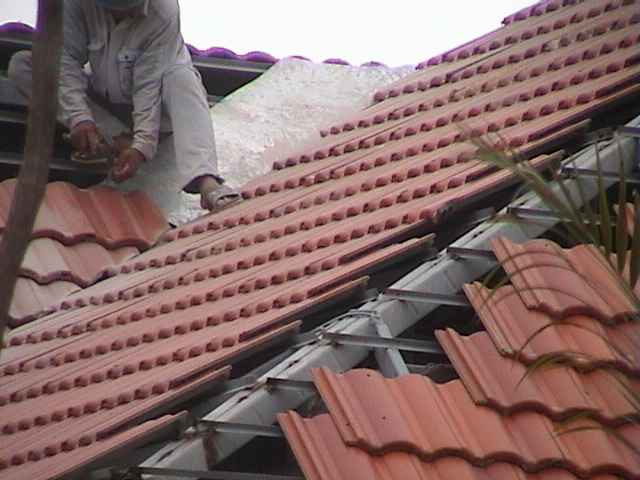
 In
the process of placing roof tiles on the house. In
the process of placing roof tiles on the house.
|
|
|
 Roof
tiles being set on the roof. Roof
tiles being set on the roof.
|
|
|
 The
roof has had an extra beam added which runs through the
house and cross supports added. (08-Apr-04) The
roof has had an extra beam added which runs through the
house and cross supports added. (08-Apr-04) |
|
|
 Center
section roof truss section. Notice the secondary
metal supports. The roof has about 12 metric
tons of roof tiles. Center
section roof truss section. Notice the secondary
metal supports. The roof has about 12 metric
tons of roof tiles. |
|
|
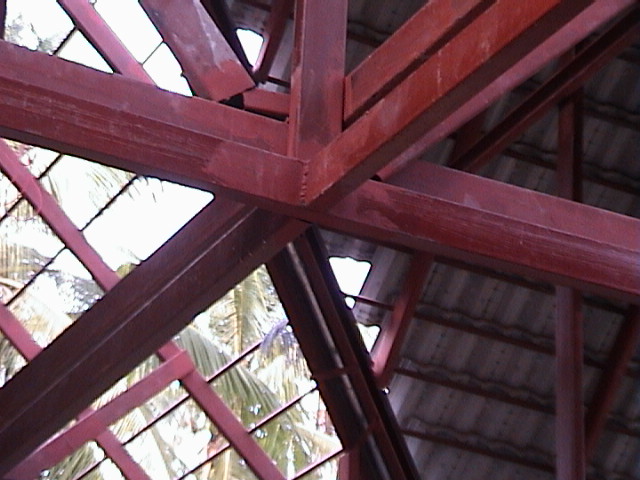
 Roof
truss - inside view. Roof
truss - inside view. |
|
|
 Cement
work on the roof tiles. (26-Apr-04) Cement
work on the roof tiles. (26-Apr-04) |
|
|
 Main
roof section nearing completion. (27-Apr-04) Main
roof section nearing completion. (27-Apr-04) |
|
|
 Close-up of underside of roof section. Close-up of underside of roof section. |
|
|
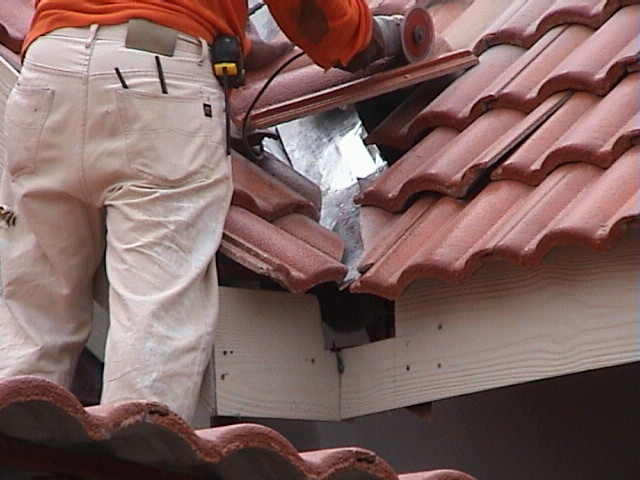
 Working
on the front roof valley of the house. (28-Apr-04) Working
on the front roof valley of the house. (28-Apr-04) |
|
|
 The
tile is laid over aluminium drainage sheets in
the valley section. The
tile is laid over aluminium drainage sheets in
the valley section.
|
|
|
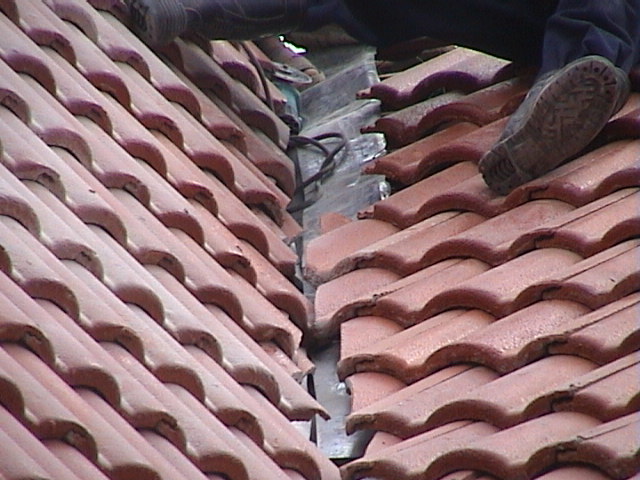
 This
shows the patch done on the inside of the roof valley but it is a little
hard to see. Basically instead of one piece of aluminum an
additional piece was added on top which sets on top of the 1 * 1 cross
supports. The whole idea here is to add more angle and prevent any
water entry during a rainy storm with high winds. (29-Apr-04) This
shows the patch done on the inside of the roof valley but it is a little
hard to see. Basically instead of one piece of aluminum an
additional piece was added on top which sets on top of the 1 * 1 cross
supports. The whole idea here is to add more angle and prevent any
water entry during a rainy storm with high winds. (29-Apr-04) |
|
|
 Front
valley being completed. (30-Apr-04) Front
valley being completed. (30-Apr-04) |
|
|
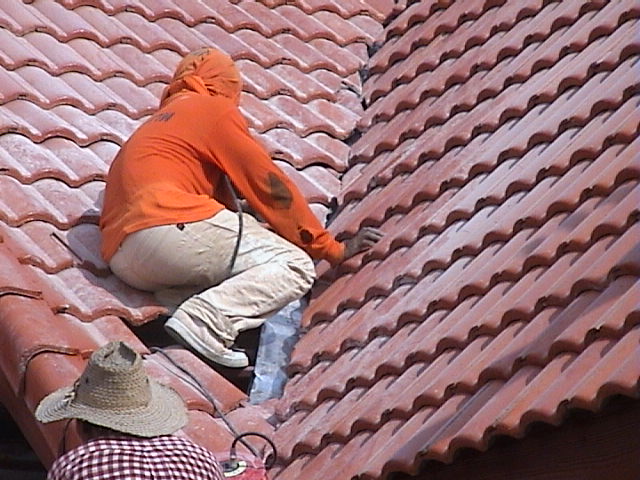
 Front
valley looks pretty poor after the first try.
This will need to be reworked since the tiles do
not come together in a nice clean straight cut
line. Front
valley looks pretty poor after the first try.
This will need to be reworked since the tiles do
not come together in a nice clean straight cut
line. |
|
|
 Close
up of valley problem area. Close
up of valley problem area. |
|
|
 Repair
work on valley in progress. Repair
work on valley in progress. |
|
|
 Repaired
roof valley. Repaired
roof valley. |
|
|
 A
supplemental support beam was added to the roof
section over the driveway. (08-May-04) A
supplemental support beam was added to the roof
section over the driveway. (08-May-04)
|
|
|
 Plastic
inserts like these come in easy to install strips, each piece
covering 3 sections (like the one shown). The are used to
prevent birds and rodents from entering the attic area.
(09-May-04) Plastic
inserts like these come in easy to install strips, each piece
covering 3 sections (like the one shown). The are used to
prevent birds and rodents from entering the attic area.
(09-May-04) |
|
|
 Patio
roof section along in foreground. (10-May-04) Patio
roof section along in foreground. (10-May-04) |
|
|
 This
is the final fix to the valley on the right side
of the house. Added flashing material is
being added. (30-Jun-04) This
is the final fix to the valley on the right side
of the house. Added flashing material is
being added. (30-Jun-04) |
|
|
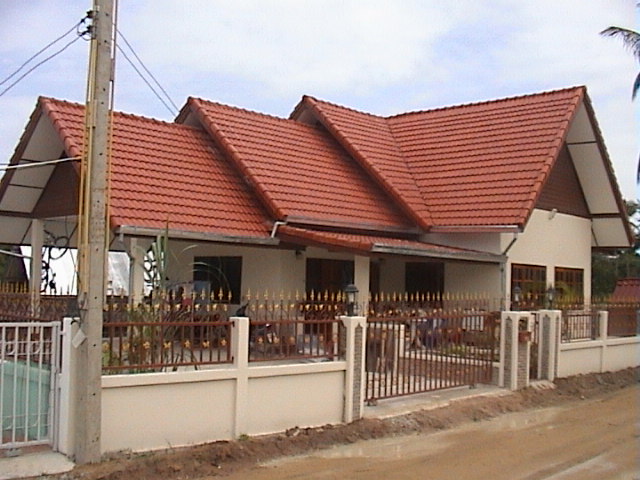
 Finished
roof, view from left front. (13-Aug-04) Finished
roof, view from left front. (13-Aug-04) |
|
|
 Finished
roof, view from right front. Finished
roof, view from right front. |
|
|
 Finished
roof, view from rear. Finished
roof, view from rear. |
|
|
|
|
|
 |
|